

How to Fit Rear Parking Sensors to a Car
Fit rear parking sensors by marking the bumper, checking behind each drilling point, drilling the sensor holes, wiring the control box to the reverse-light trigger and its power feed as the kit requires, then testing each sensor before you refit trim. Bad placement, poor sealing, or the wrong angle can cause constant beeping, dead zones, or a bumper that needs rework. This guide covers the install sequence, the mistakes that cause false readings, and when a DIY retrofit stops making financial sense.
How the system warns and what’s in a kit
Rear parking sensors use ultrasonic wave reflection to judge distance behind the car. The ECU reads the returning signal, typically changes beep speed as an object gets closer, and may drive a small display if the kit includes one. Rear retrofits are most often requested on vans and larger vehicles with limited rear visibility.
How the warning changes
Most rear systems give an audible warning as you approach an obstacle, and the beep frequency typically increases as the gap closes. Some kits also show a visual display on the infotainment system or on a separate screen. If the kit includes both, treat the audio as the primary warning and the display as a second check.
What a kit usually includes
A rear parking sensor kit usually includes ultrasonic sensors, a control box or ECU, a wire loom, a buzzer or audible warning unit, and sometimes an optional display. Many rear parking sensor kits come with four sensors. Some also include paintable or colour-matched caps so the finished bumper looks closer to factory fitment.
What you’ll need
- Rear parking sensor kit with sensors, ECU, loom, buzzer, and any display
- Drill and the hole saw or step bit listed in the kit instructions
- Trim removal tools
- Tape measure or ruler
- Masking tape and a marker
- Electrical tape or loom tape
- Heat-shrink or connectors specified by the kit
- Sealant approved for bumper penetrations if the kit calls for it
- Multimeter for checking the reverse-light feed and polarity
Follow the vehicle and product manual, never work under a vehicle held only by a jack, never exceed the vehicle’s rated roof, hitch, or tow limit, keep items out of airbag zones and the driver’s view, and check local laws before modifying wiring or trim. Disconnect the battery or follow the maker’s electrical procedure before you touch the loom.
Rear sensor fit checklist
This checklist covers the exact install stages that most DIY jobs miss. Measure first, drill last. Check the bumper structure behind every hole, because crash bars, brackets, foam, wiring, and reinforcement ribs can sit where the sensor needs to go.
| Step | Check | Fail risk |
|---|---|---|
| Measure bumper | Confirm the kit’s height, spacing, and angle for your bumper shape before marking anything | Sensors aim too high or too low and miss the obstacle zone |
| Mark holes | Check behind the marked points for crash bars, wiring, brackets, foam, and reinforcement | Broken trim, damaged loom, or a hole that lands on a hidden brace |
| Drill | Use the kit cutter and keep the drill square to the bumper face | Oval holes, paint lift, or a sensor that sits at the wrong angle |
| Mount sensors | Seat each sensor fully and set the correct facing direction | False alarms, dead zones, or one sensor reading backwards |
| Route loom | Keep the cable away from sharp edges, hot parts, and moving trim | Chafing, intermittent faults, or broken wires later |
| Connect reverse feed | Use the reverse-light signal as the trigger if the kit calls for that, and take main power separately when the design requires it | The system does not wake correctly or loses stable power |
| Test beep pattern | Check each sensor, the buzzer, and any display before reassembly | A hidden fault after the bumper goes back on |
| Seal penetrations | Seal each opening so water cannot track into the bumper or loom | Ingress, corrosion, or a sensor that fails after rain |
How do you fit rear parking sensors to a car?
Fit rear parking sensors by preparing the car, marking the bumper, drilling the openings, installing the sensors, routing the wire loom, and connecting the ECU to the reverse-light trigger and power feed the kit specifies. The key is to confirm position and clearance before you cut, then test every channel before you refit the trim.
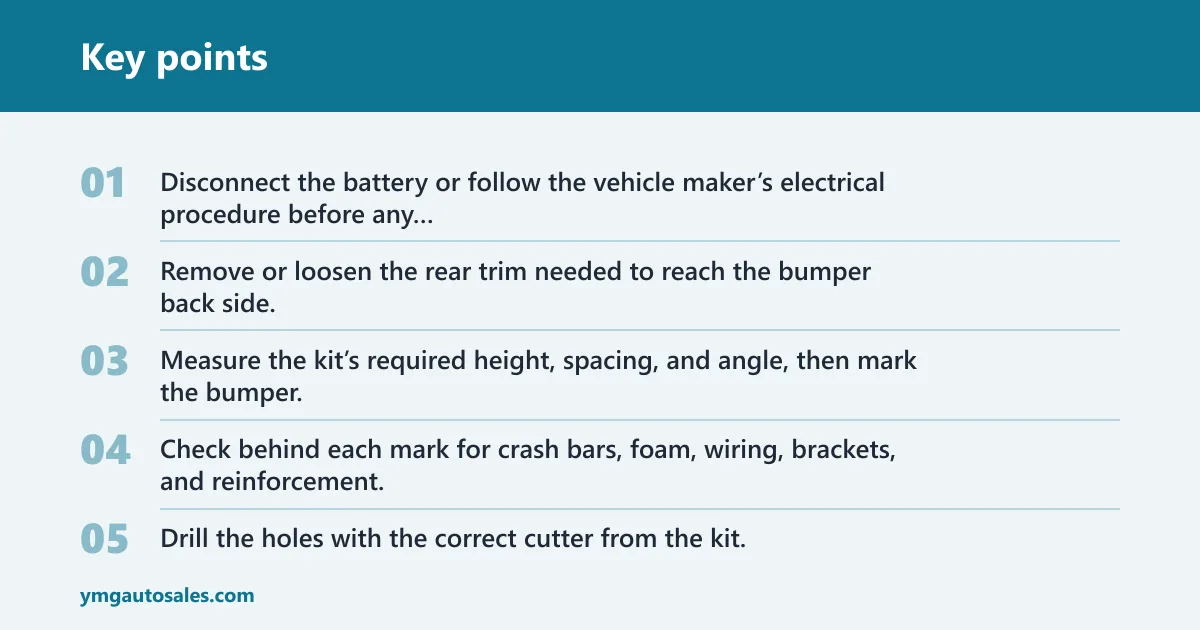
- Disconnect the battery or follow the vehicle maker’s electrical procedure before any wiring work.
- Remove or loosen the rear trim needed to reach the bumper back side.
- Measure the kit’s required height, spacing, and angle, then mark the bumper.
- Check behind each mark for crash bars, foam, wiring, brackets, and reinforcement.
- Drill the holes with the correct cutter from the kit.
- Mount the sensors in the correct order and orientation.
- Route the loom through the tailgate area or rear body cavity without sharp bends.
- Connect the reverse-light feed as the trigger if the kit uses one, and connect main power separately if the wiring diagram asks for it.
- Test the buzzer, display, and each sensor before any trim goes back on.
- Seal the penetrations, then refit the bumper trim and recheck operation.
Why height, spacing, and angle matter
Ultrasonic parking sensor technology depends on the wave returning from the obstacle at the right angle. If the sensor points too far down, it may see the ground. If it points too far up, it may miss low posts and curbs. Follow the kit instructions for exact placement, because universal kits are sensitive to those dimensions.
Common first-timer mistake
Say your bumper has a hidden foam block behind the centre mark. If you drill first and check later, the sensor may sit against the foam and false-beep from the start. Move the position before the hole is cut, not after the paint is open.
How do rear parking sensors work after fitting?
After fitting, the ECU watches the ultrasonic return from each sensor and controls the warning pattern. Most systems power on automatically in reverse gear and give a faster beep as the obstacle gets closer. Some kits also feed a visual display, but the main job is still distance sensing at slow-speed manoeuvres.
Reverse-light trigger and main power
The reverse-light feed is commonly used as the 12V trigger that wakes the system when reverse is selected. On many kits it is not the main supply for the whole setup, so check whether the ECU needs a separate fused power source and ground. Use the kit diagram rather than guessing from wire colour alone.
Parking sensor ECU basics
The parking sensor ECU handles distance calculation, audio pattern control, and any calibration or vehicle-specific setup that the kit requires. Some basic ultrasonic kits need little more than correct mounting and wiring. Others need a simple setup step after installation, so match the process to the exact kit.
How do you test rear parking sensors?
Test rear parking sensors by checking the power feed first, then confirming each sensor, buzzer, and display before the bumper is fully closed up. A good test sequence catches reversed polarity, dead sensors, and bad sealing while access is still open. Do not rely on one reverse-into-an-object check alone.
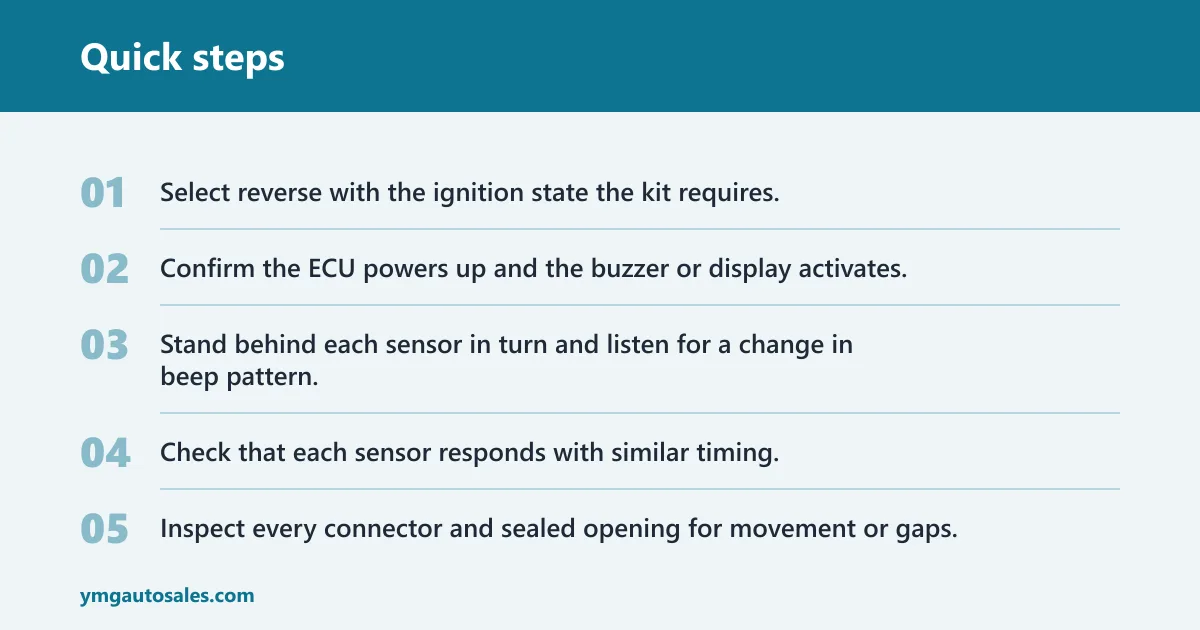
Test sequence
- Select reverse with the ignition state the kit requires.
- Confirm the ECU powers up and the buzzer or display activates.
- Stand behind each sensor in turn and listen for a change in beep pattern.
- Check that each sensor responds with similar timing.
- Inspect every connector and sealed opening for movement or gaps.
- Refit the trim only after the system reacts consistently.
Picture a kit where three sensors react normally but one stays silent. That usually points to a loose connector, a damaged lead, or the sensor facing the wrong way. Swap checks one at a time so you do not chase several faults at once.
If that did not work, check the wiring order against the kit diagram, then confirm polarity with a multimeter. Reversed polarity can stop the ECU from waking properly or can leave the buzzer dead even though the reverse lights still work.
Can you fit rear sensors without drilling?
Yes, but the trade-off is accuracy and consistency. Drill-in kits usually give the most controlled fit, while no-drill alternatives can suit leased cars, temporary use, or owners who want to avoid cutting painted plastic. The no-drill route is worth considering only if the kit is designed for that mounting style.
Drill-in kits versus no-drill options
Drill-in rear kits place the sensors in fixed positions on the bumper face. That gives a cleaner obstacle detection zone when the height and angle are correct. No-drill kits may clamp, stick, or mount in another location, but the finish and detection pattern can vary by bumper shape.
Colour-matched caps
Colour-matched sensor caps help the retrofit look closer to factory fitment. They do not change how the sensor works, but they do matter on a painted bumper finish where a black sensor would stand out. Check the paint match before ordering if appearance matters.
How much to fit rear parking sensors?
Costs vary by car, kit, labour time, and whether the job is a repair or a fresh install. The average quote for parking sensor fitting is £154.89, and the average price of a parking sensor repair booked on FixMyCar is £154.89. DIY can reduce labour cost, but a poor install can erase that saving fast.
Repair versus install cost
A repair may be closer to a diagnostic job than a full retrofit. The average price of a car diagnostic booked on FixMyCar is £51.66, and the average price of a car electrical repair booked on FixMyCar is £62.74. Those figures help you compare the labour side, but your final price still depends on vehicle-specific access and kit type.
When DIY stops making sense
If the bumper has tight access, hidden reinforcement, or awkward wiring routes, the labour saved by DIY can be small. Add the risk of paint damage, a misaligned hole, or a failed seal, and a professional fitting quote may be the safer route. That is especially true if the car already has rear body damage or previous repairs.
Common mistakes and checks
Most bad installs come from placement, wiring, or sealing. Wrong hole height or sensor angle gives poor detection. Loose earth or reversed polarity can leave the system dead. Poor sealing lets water in. Tow gear, brackets, or foam behind the bumper can also cause false beeps that look like a sensor fault.
If that did not work, try this next
- Recheck the hole height and sensor angle against the kit instructions.
- Inspect the earth point, connectors, and fused supply for looseness or corrosion.
- Verify the reverse-light trigger with a multimeter before replacing parts.
- Look behind each sensor for foam, brackets, tow equipment, or other obstructions.
- Open and reseal any suspect penetration if water marks or dampness appear.
A common first-timer mistake is chasing a bad sensor before checking the bumper behind it. If the sensor faces a bracket, the ECU may think an obstacle is always there. Move the sensor, not the warning tone.
Prevention
Use the kit’s drilling template, keep the bumper hole square, and seal every penetration before rain exposure. That prevents the two faults that are hardest to undo later: paint damage and water ingress.
How do you remove rear parking sensors?
Remove rear parking sensors by opening the trim, disconnecting the loom, releasing the sensor clips, and easing each unit out without twisting the painted edge. Work slowly so the bumper finish does not chip. If the cap is painted or colour-matched, protect the paint before you pull the sensor body.
Removal order
- Disconnect the battery or follow the maker’s electrical procedure.
- Remove the rear trim needed to reach the sensor backs.
- Unplug the loom from each sensor.
- Release the retaining clip and pull the sensor straight out.
- Remove sealant residue and inspect the hole edge.
- Fit a blanking plug or restore the bumper as required by the vehicle and kit.
Frequently asked questions
How do you install rear parking sensors?
Install them by measuring the bumper, checking the back side for hidden parts, drilling the kit’s holes, mounting the sensors, running the loom to the ECU, and tying the system into the reverse-light trigger and power feed the diagram specifies. Test every sensor before the bumper goes back on.
Can you add parking sensors to a car that did not have them?
Yes. Many aftermarket parking sensor kits are made for front, rear, or both bumpers, and a rear retrofit is common on cars, vans, and larger vehicles. The main check is fitment compatibility with your bumper shape and enough room behind the drilling points.
Can you install parking sensors without drilling the bumper?
Sometimes. No-drill alternatives exist, but they trade away some of the clean fit and detection consistency of a drill-in kit. If you want a near-factory finish, colour-matched caps and correctly placed sensor holes usually give the better result.
