

How to Remove a Headlight Housing Without Breaking Tabs
Remove every screw, bolt, clip, and retainer first. Release the tabs with a trim tool or pick only after the housing moves freely; if it is still stuck, a hidden fastener may still be present. If the assembly will not slide forward, a hidden fastener is likely still in place. Forced prying cracks tabs, breaks mounting ears, and can turn a simple swap into a replacement housing. This guide shows the fastener check, tab-release order, and pull-forward sequence that keeps the assembly intact.
What you’ll need
- A 10 mm socket is commonly used for headlight fasteners, with a ratchet and short extensions for tight access.
- Trim removal tool made of plastic for push pins and clips without marring paint
- Phillips screwdriver for upper covers and screw-type fasteners in the radiator support area
- Flashlight to trace hidden bolts, clips, and the lens-to-housing seam
- Small tray or divided container for bolts, clips, and push pins
How do you remove a headlight housing without breaking the tabs?
Start by finding every fastener, then release the headlight connector with the ignition off before you pull on the housing. Plastic tabs get brittle with age and heat, so free the housing first and touch the tabs only when the unit already moves straight forward. If it binds, stop and inspect for another hidden screw.
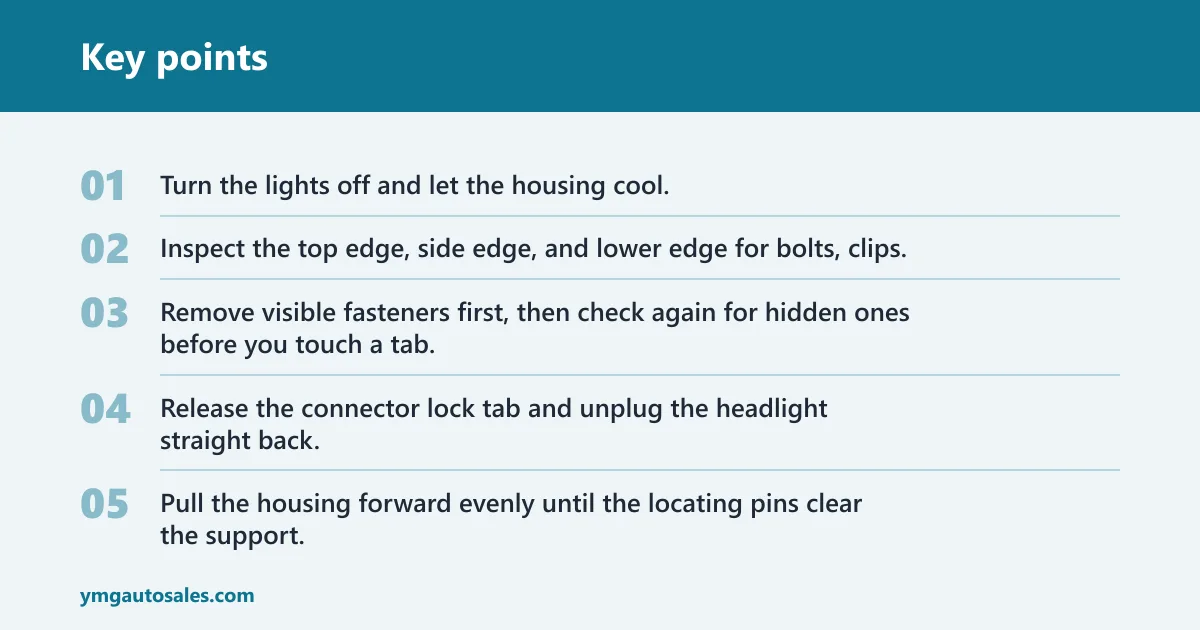
- Turn the lights off and let the housing cool.
- Inspect the top edge, side edge, and lower edge for bolts, clips, and seams that can catch.
- Remove visible fasteners first, then check again for hidden ones before you touch a tab.
- Release the connector lock tab and unplug the headlight straight back.
- Pull the housing forward evenly until the locating pins clear the support.
Headlight housing checklist
| Check | What you should see | Stop and recheck when |
|---|---|---|
| Upper bolts | Usually visible from the top edge of the radiator support | One side lifts but the other stays fixed |
| Side bolts | Often hidden behind the bumper cover or fender liner | The housing may slide about 2–3 mm, then stop hard if a side bolt is still hidden. |
| Lower fasteners | May sit low near the support or behind trim | The bottom edge flexes while the top stays locked |
| Tabs and pins | Mounting tabs should no longer be seated in slots | A corner will not move even after all bolts are out |
Should you remove the bumper?
Remove only the bumper cover you need to reach the side fasteners. If the upper bolts are open and the connector clears, bumper-on access may be enough. If the side bolts hide behind the cover or the wheel-well edge, partial bumper removal is the cleaner path. For many vehicles, the fender liner gives the safest entry point.
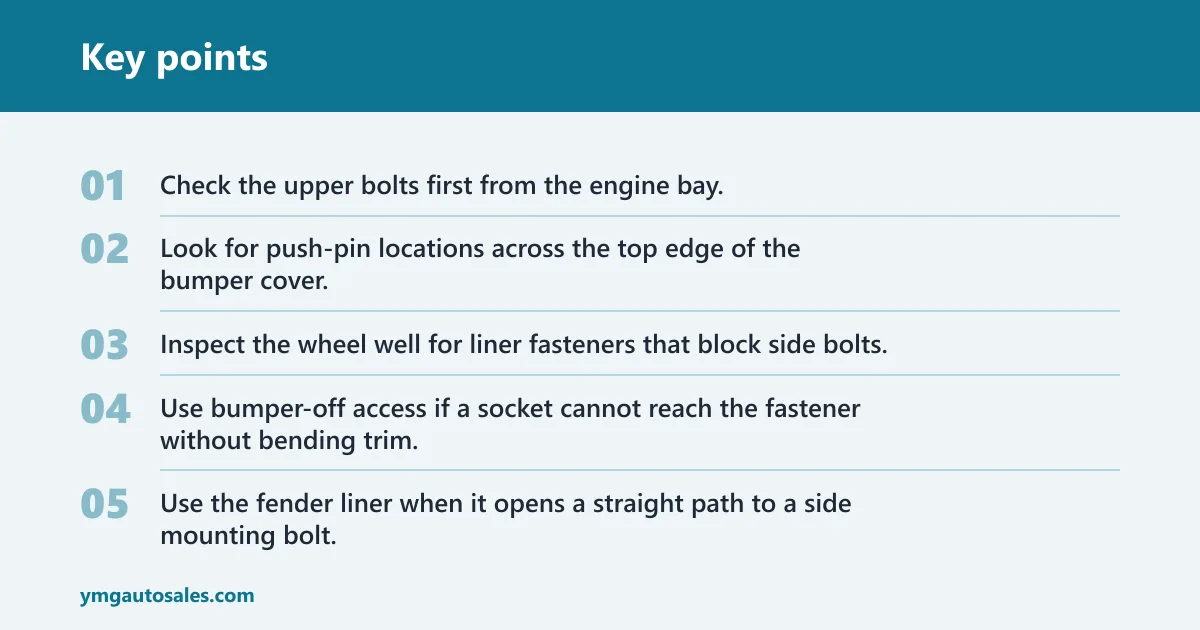
Bumper-on and bumper-off access
- Check the upper bolts first from the engine bay.
- Look for push-pin locations across the top edge of the bumper cover.
- Inspect the wheel well for liner fasteners that block side bolts.
- Use bumper-off access if a socket cannot reach the fastener without bending trim.
- Use the fender liner when it opens a straight path to a side mounting bolt.
Picture a headlight with two top bolts visible and one side bolt buried behind the wheel liner. If the socket only bites at an angle, the liner is usually the better access path. A trim removal tool keeps the push pins from gouging the painted edge while you open that space.
What tools do I need to remove a headlight assembly?
Use a 10 mm socket with a ratchet for many headlight fasteners, plus extensions when the support or bumper cover blocks the head of the bolt. Add a plastic trim removal tool for clips and push pins, and a Phillips screwdriver for upper covers or screw-type fasteners. Keep a flashlight nearby so you can verify the fastener count before you pull.
Tool use by task
- 10 mm socket: common for headlight bolts; fits most ratchets and short extensions
- Trim removal tool: best for clips and push pins without scratching paint
- Phillips screwdriver: used on some upper covers and radiator support screws
- Flashlight: helps find hidden bolts behind the bumper cover or liner
Remove the housing
Remove the visible upper fasteners first, because they usually hold the housing square in place. Then move to the side or lower bolts through the bumper cover opening or the fender liner. Keep the housing supported with one hand while you release the connector lock tab, and pull the plug straight back.
- Remove the upper bolts with the correct socket.
- Open the fender liner or bumper access point and remove hidden side or lower bolts.
- Release the headlight connector by pressing the lock tab and pulling the plug straight back.
- Work the housing forward evenly from both sides.
- Stop if one corner stays fixed, and check for a remaining fastener or engaged clip.
- Lift the housing straight out once every fastener is free and the locating pins clear.
Where are the hidden bolts for a headlight housing?
Hidden bolts usually sit behind the bumper cover, inside the fender liner, or under a small upper cover near the radiator support. Some vehicles use a Phillips screw in place of a bolt on one upper brace. The clue is simple: if the housing shifts partway and then binds, a fastener is still holding it.
Common hidden-fastener locations
- Behind the bumper cover, near the outer corner of the housing
- Inside the wheel well through the fender liner opening
- Under upper trim or a small cover near the radiator support
- At the lower edge where the housing meets the support bracket
What if the housing is stuck?
If the bolts are out and the housing still will not move, stop prying harder and inspect for one last hidden screw, clip, or push pin. A locating pin may need only a straight pull, while a retaining tab will stay hooked and block movement. The difference matters, because a stuck tab usually means the housing is still fastened.
- Check the upper edge, lower edge, and wheel-well side again for a missed fastener.
- Look for a tab hooked into the core support or bumper edge.
- Rock the housing only enough to free a locating pin.
- Do not twist the lens or jam a tool into the seam.
- Stop and remove another fastener if the housing flexes but does not move.
Suppose the housing slides forward 2 mm, then one outer corner stays locked. That usually points to a tab or a side bolt, not a stubborn lens. The right response is another fastener check, not more force. Too much bending opens the lens-to-housing seam and cracks the mounting ear.
How do I release brittle headlight clips safely?
Brittle clips should be released in the direction they were designed to move, with a plastic tool and light pressure. Heat and age make the tabs less forgiving, so the goal is to unhook the clip, not bend it flat. If the tab does not move with a controlled push, it may still be carrying load from a hidden fastener.
- Use a trim tool, not a metal pry bar, on painted edges and plastic tabs.
- Push or lift only in the release direction of the clip.
- Keep force low and stop at the first sign of whitening or bending.
- Do not pry against the lens-to-housing seam.
Common mistakes
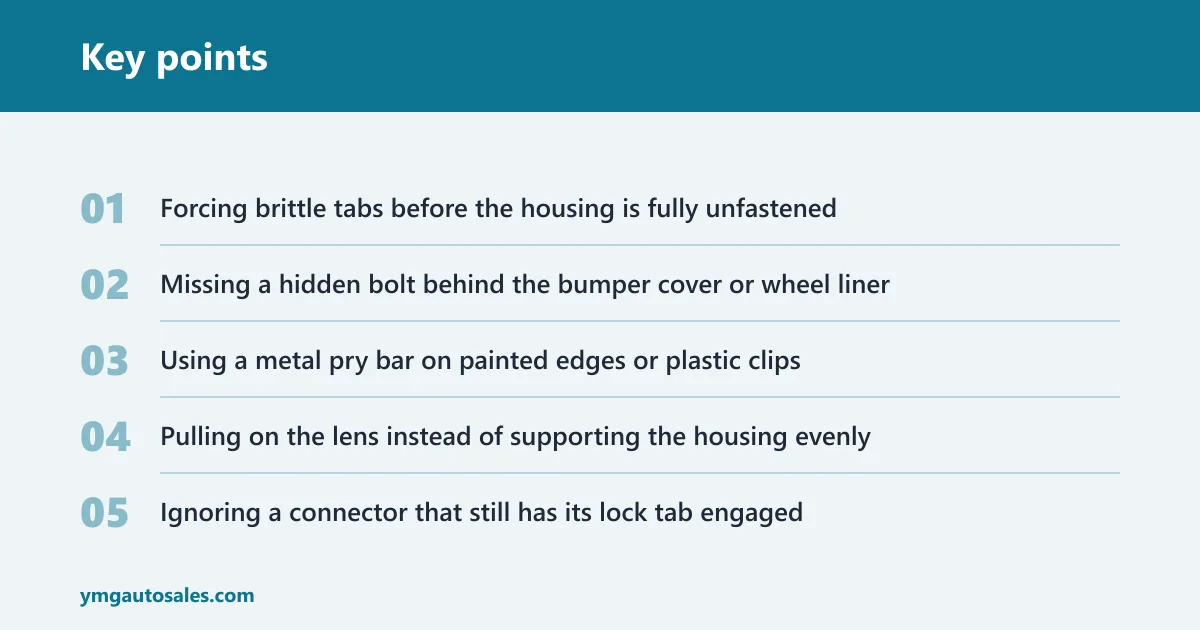
- Forcing brittle tabs before the housing is fully unfastened
- Missing a hidden bolt behind the bumper cover or wheel liner
- Using a metal pry bar on painted edges or plastic clips
- Pulling on the lens instead of supporting the housing evenly
- Ignoring a connector that still has its lock tab engaged
If that didn’t work, try this next
Stop, reset your grip, and recheck the fastener path from top to bottom. If the housing still hangs up, remove the bumper cover or open the fender liner farther so you can see the side bolt. A stuck housing that flexes without shifting almost always needs another fastener removed, not more force.
- Reinspect the top edge for a missed Phillips screw or 10 mm bolt.
- Open the bumper cover or fender liner farther for side access.
- Verify the connector is fully released and clear of the housing.
- Try a straight pull again only after the last fastener is confirmed out.
Can I remove a headlight housing without disconnecting the battery? Yes, if the lights are off and the connector is handled carefully. The safer rule is to switch the ignition off, turn the lighting controls off, and unplug the headlight only after you have access to the lock tab. Battery removal is not always required for this job.
What should I do if a retaining tab breaks during removal? Stop and inspect the housing, the mounting ear, and the surrounding support before reinstalling anything. A broken tab may still allow the lamp to sit correctly if the other mounts are intact, but the fit must be checked before tightening. Replace damaged clips or the housing if the break affects alignment.
Frequently asked questions
Should I remove the bumper to take out the headlight?
Only if you cannot reach every fastener and the connector without bending trim or stressing the housing. Partial bumper removal is common when side bolts sit behind the cover. If the fender liner opens a direct path to the bolt, that is usually the cleaner access point.
How do I avoid cracking the lens or mounting tabs?
Support the housing evenly, release clips in their intended direction, and avoid twisting the lens or prying on the seam. Use a plastic tool on painted edges. If the lamp flexes but does not move, stop and look for a hidden fastener before applying more force.
What should I do if a retaining tab breaks during removal?
Inspect the mounting ear, nearby clips, and the lens-to-housing seam right away. If the break is minor and the other mounts are sound, the housing may still reinstall correctly, but the fit should be checked before final tightening. Replace damaged hardware or the housing if alignment is compromised.
